My
first fursuit project,1 |
||||
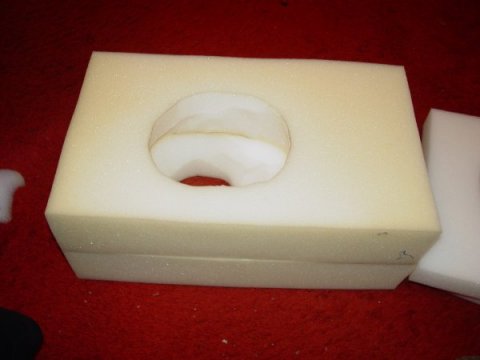 It all starts with some blocks of foam. |
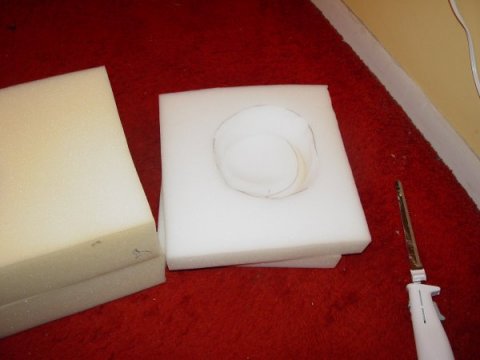 Here are the smaller pieces that I put at the top of the head. |
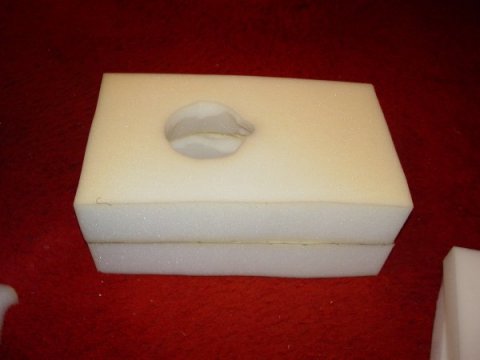 Notice that the hole for the head is cut out before gluing them together. |
||
 OK, this has kind of a tech monster look to it, initial shaping on the head has started. |
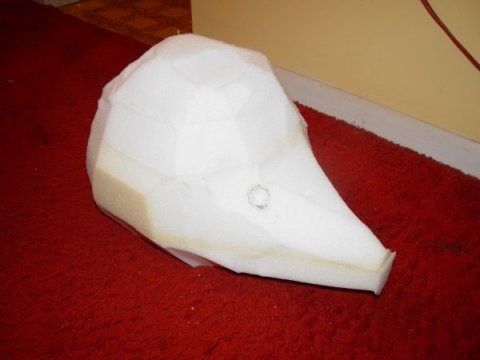 Now to carve the nose, being a fox, it should narrow down in the snout. |
 Still more carving. |
||
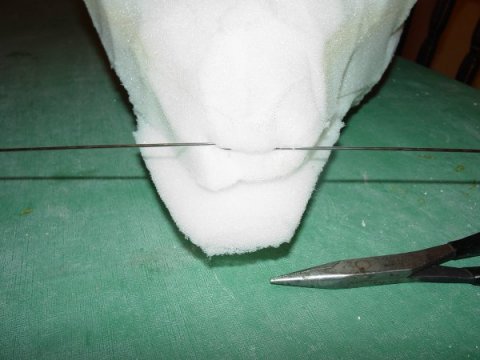
 Here I have slit the mouth open, you can see how I have carved out the inside of the mouth cavity. |
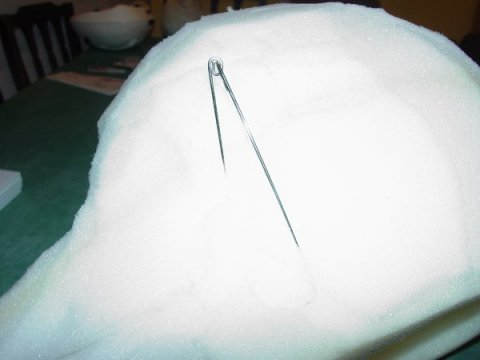
 First cut at the eyes. I put the head on and using a felt marker, marked the position and then cut small holes. |
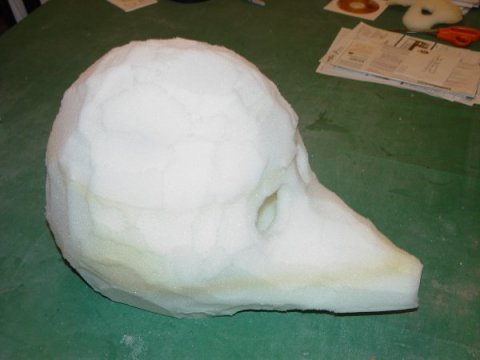 I started referring to this as the "rat skull" phase of the project. |
||
 Or from a different angle, a bird perhaps? |
 Yet another view. |
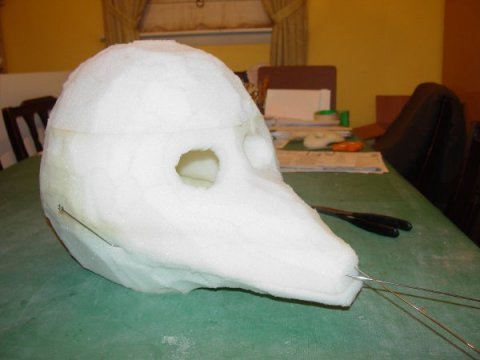
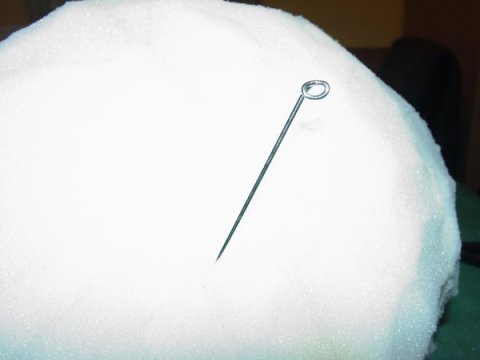 Here I have shoved a piece of stainless steel welding rod down the length of the upper jaw and bent it upwards to where the jaw should pivot. |
||
 Once it was in place, I shoved it down into the foam and it doesn't show at all. |
 Here the pieces down opposite sides are bent around the front. I snipped them to length and then taped them together. |
 Here the upper and lower jaw wires have been coupled together to form a crude hinge. The head was a bit too loose for this idea to work. |
||
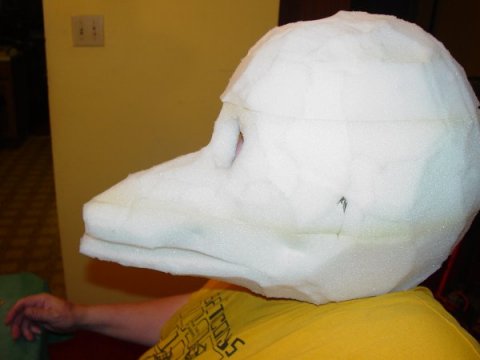 Looking birdlike..... |
 Here I have shaped a piece of foam board that will become an ear pattern to fit the curve of the head. |
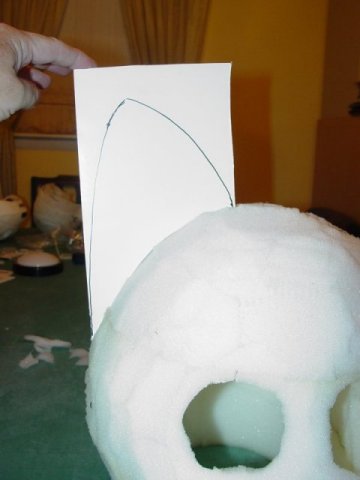 Now I free-hand drew on an ear. |
||
 and now checking the fit of the ear. I then traced this pattern onto two piece of "hobby foam", 1/8" thick. |
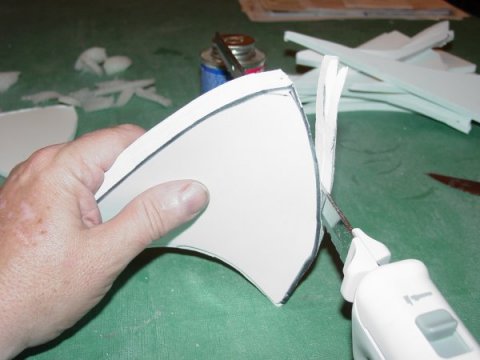
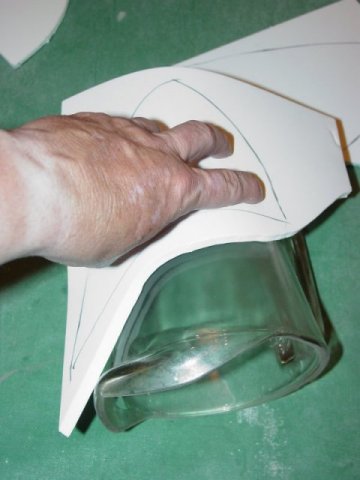 Here is how I got the ears to curve. I applied contact cement to the back of the piece with the pattern, and the front of a blank piece. Then I curve the blank piece around a pitcher and glued the pattern piece on while it was bent. |
 Here are the ear pieces after gluing. Remember when you trace your patterns to do one side and then flip the pattern over for the other side! |
||
 And now they have been cut out to the pattern. |
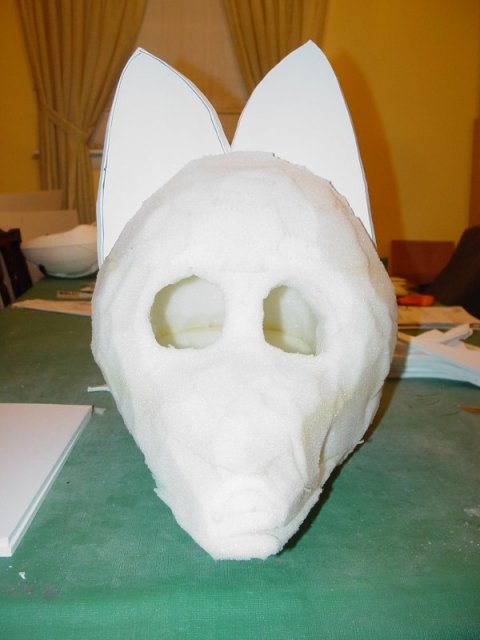 Here is a trial fit of the ears on the head. |
 BTW, all shaping was done using a double blades electric kitchen knife. |
||
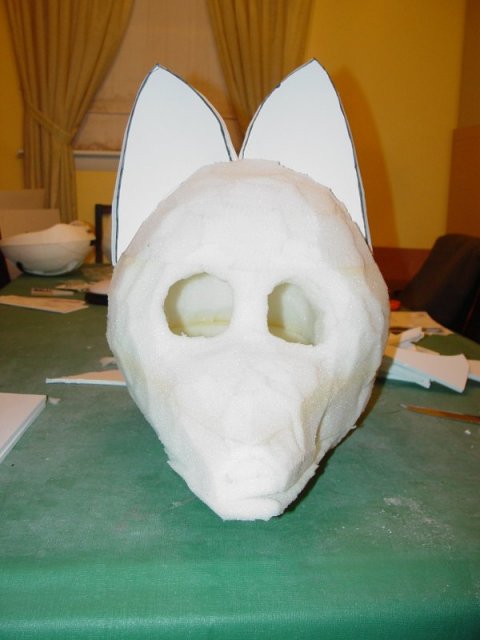
 Here I am using it to bevel the back edges of the ears. |
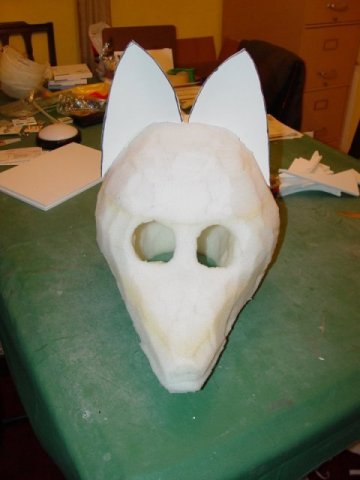 I think it is actually starting to look a little .... foxy? |
Next comes covering the head with fur! | ||